Having built my tonearm, rewired, redesigned a bearing for the horizontal pivot which seems to work well, I was ready to give it a try. The big moment, after several months of evenings, I was ready to power up the turntable and see how it sounded. Plugged in the RCA connectors, turned on the amplifier, and heard…hummmmmmmmm…
There is nothing quite as irritating to me in a stereo system as a lot of hum, usually being picked up from poorly shielding devices, power cords running too close to low-level lines, or switching power supplies creating their own little radio broadcasts in the vicinity. The cartridge, or pickup, generates a very tiny signal that must be amplified many times to drive speakers, so any tiny electromagnetic interference gets amplified right along side.
Grounding, in electronics and hifi, is a very complicated topic, and a much deeper understanding than I possess of the physics at work is necessary to get it right the first time. I usually experiment until I find what works best.
The Micromatic, being a big hunk of steel, should have provided a decent shield to the tonearm against any motor noise, but then, they originally had ceramic cartridges which were not susceptible to such noise. Since I installed an IEC connector on my plinth, I had a ground available, so first I tried grounding the steel deck of the turntable to the house ground. The hum changed to more of a steady 60hz buzz.
I knew that many turntables had a ground screw for connecting the metal to the chassis ground of the preamp, so next I tried grounding the steel deck to the preamp, with the house ground disconnected. Hey, there was some improvement!
Remembering my unshielded, twisted-pair tonearm wires – in a plastic tonearm – I suspected that this was the problem. These foot-long thin wires were acting like antennae, picking up all sorts of noise. Interestingly, it seemed to be much worse sitting on my concrete slab floor, versus sitting on a table. I think the concrete may have been bouncing some wavelengths back up onto the turntable.
I set out to prove that the unshielded tonearm was the source of the hum. Browsing online for shielding products, I discovered a few that displayed some interesting potential. I wasn’t even aware that such a product was available, but first I tried “Faraday fabric.”
Michael Faraday invented his namesake shield over 180 years ago. It is essentially any conductive cage which grounds stray electric current, including static, or electromagnetic influence. In recent years, we are so inundated with radio signals that, out of concern for privacy or health, people are shielding all sorts of products, for example: wallets (credit card skimming), clothing, secure rooms, sensitive laboratories. A need for cheap, flexible, conductive surfaces was evident, and there are some exciting products on the market now.
I bought TitanRF Faraday Fabric. I was skeptical, but when it arrived I measured conductivity with a multimeter and resistance was very low. The fabric is quite flexible, though it does crease rather easily. I draped a square foot of the fabric over the tonearm while the speakers were humming away, and sure enough, much of the hum disappeared! Now I just needed to figure out how to line the tonearm with the stuff.
Along with my purchase of the Faraday fabric, I got a sample of Faraday tape. I wound up using only the tape to shield the tonearm wires.
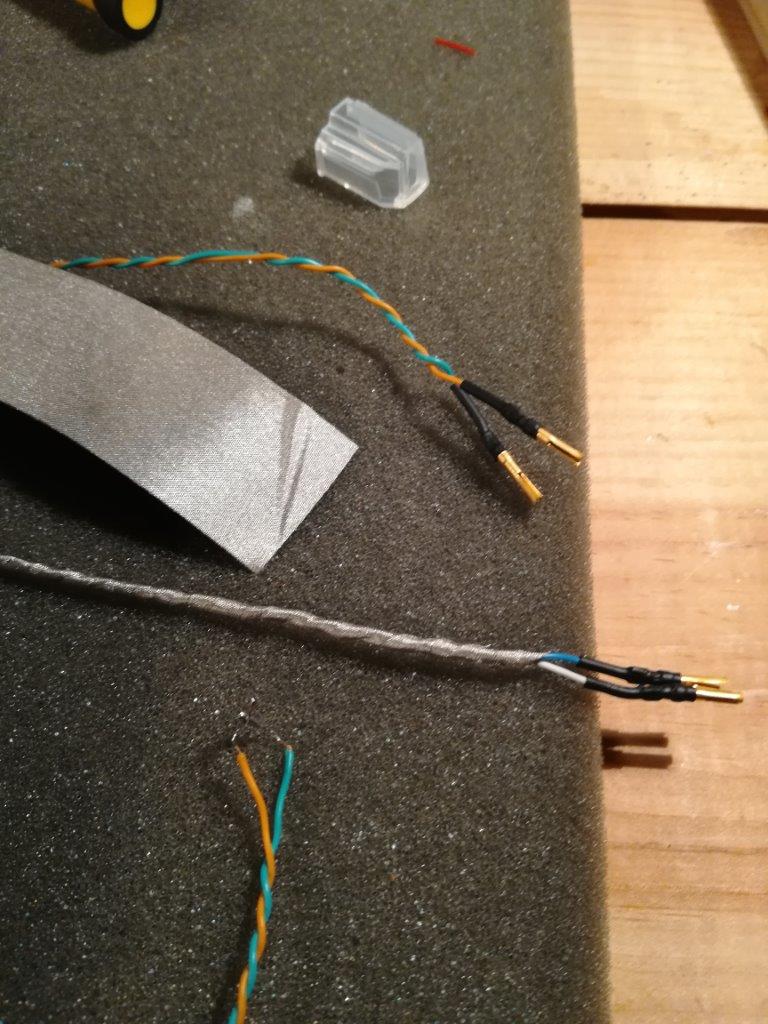
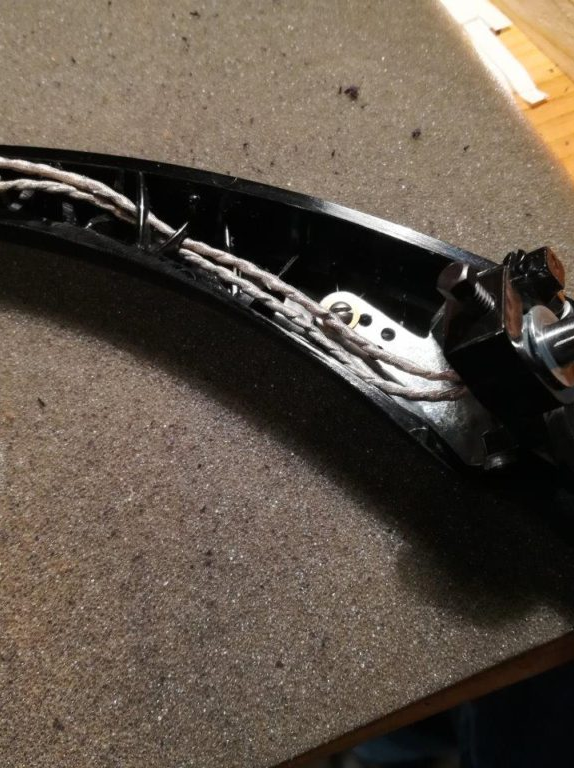
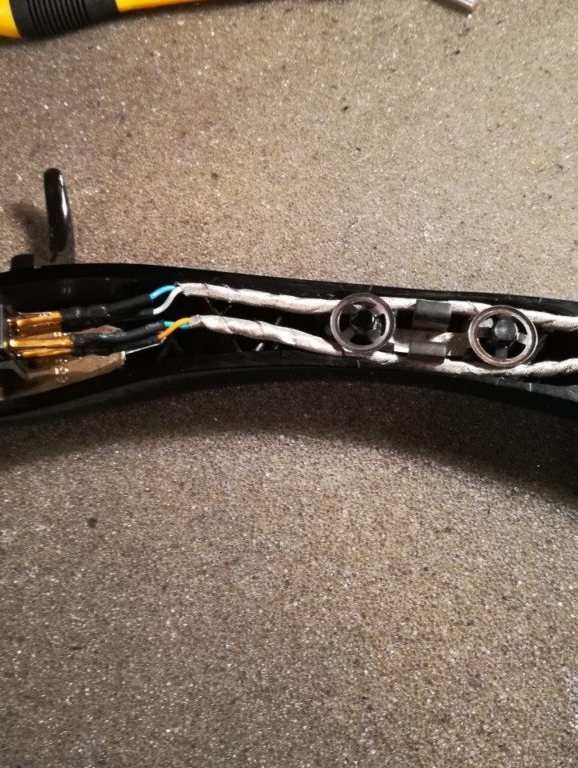
The tape adhesive is quite strong, and the tape itself somewhat more flexible than the fabric. I was shocked that the adhesive itself was so conductive as to ensure conductivity down the entire length of the shield (I used short pieces of tape over the length). There was no indication that the tape shield wasn’t a continuous piece of conductive shielding, that is, resistance was quite low, on the order of a few ohms per foot.
I first taped the entire length of the wires, ensuring that the conductive tape contacted the metal of the tonearm and the turntable deck. Hum was GONE! I was so pleased, I set out to listen to a record, only to find that the tape had stiffened the wires to the point of being resistant to tonearm motion.
I untaped the wires up to the tonearm, leaving them free inside the plinth, which restored the wires’ flexibility, but there was still some noise being picked up. What now? I contemplated using that Faraday fabric to line the entire plinth, but how would I attach it in a way that is elegant and durable enough for this project?
I experimented with glues. First I tried Weldwood Contact Cement. The contact cement worked well, but in order to get a good bond to the wood inside the plinth, the fabric had to be wet with the stuff. The Faraday fabric is breathable, porous, so the cement soaked through. This might be acceptable for some applications, but not for mine; I wanted to be able to screw a ground to the fabric and have good continuity. Next I tried Aleene’s Tacky Glue. This worked better, as with the right application of glue to wood, it did not soak through the fabric, but still bonded very well. It held better than the contact cement. But the problem still remained of ensuring that each layer of the fabric was continuous with the next (electrically conductive). If it had not created a mess – if the plinth hadn’t already been built – I probably would have tried a spray adhesive, which I suspect would have been just right.
Ultimately, I decided on a different product because the reality of gluing all those little pieces of fabric inside the plinth – and the horrific thought that it might one day come loose in there – decided me against the Faraday fabric. If I had planned to use it from the start and make some accommodations for adhesive or fastening, I think it would have been an excellent choice.
I considered two other products: conductive paint, and copper foil tape. Both products get used in electric guitar builds to shield the pickup, so I was sure either would work in my application. I really think the conductive paint would have been the more elegant solution, however, at several times the cost, I opted for the copper foil tape.
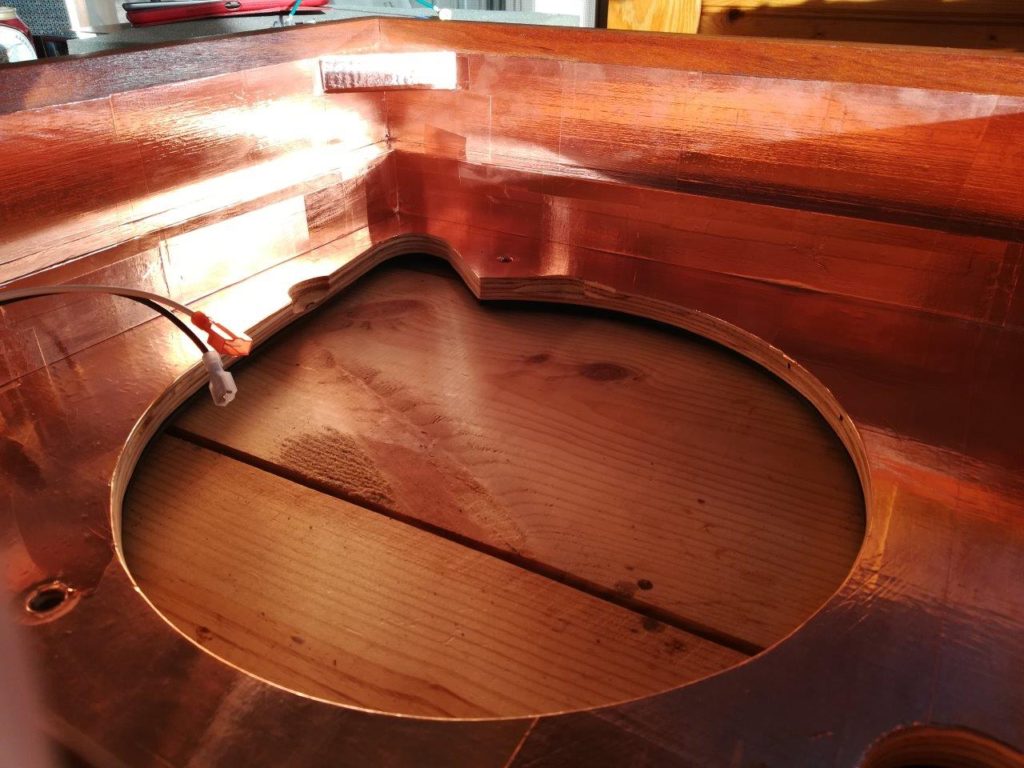
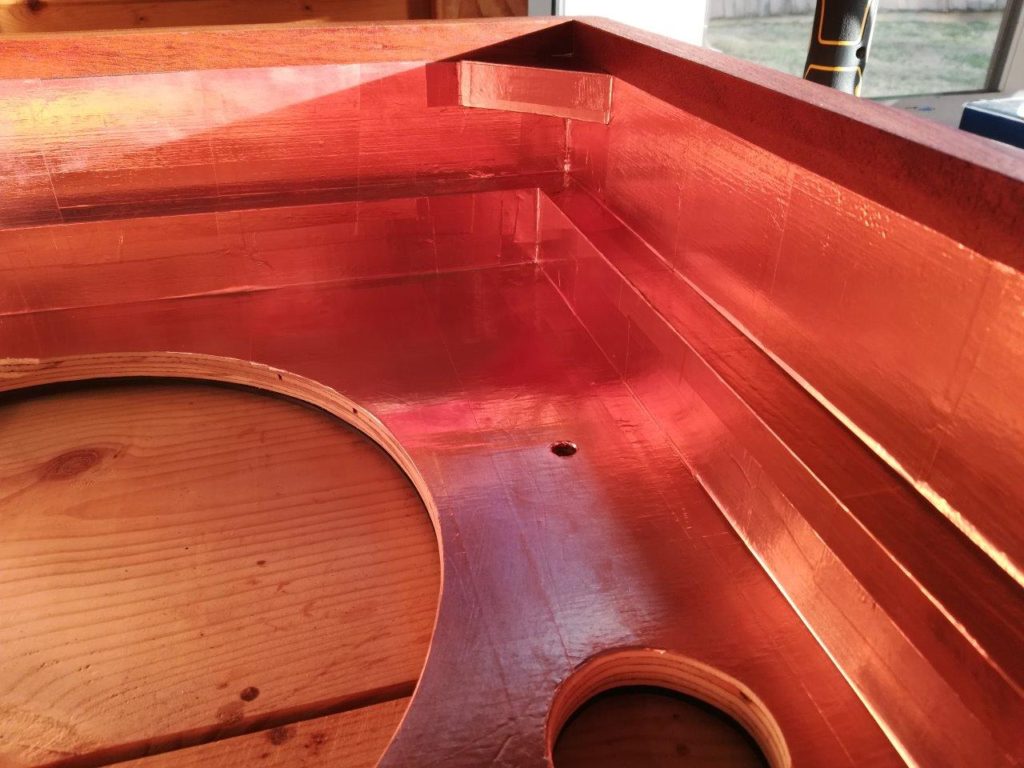
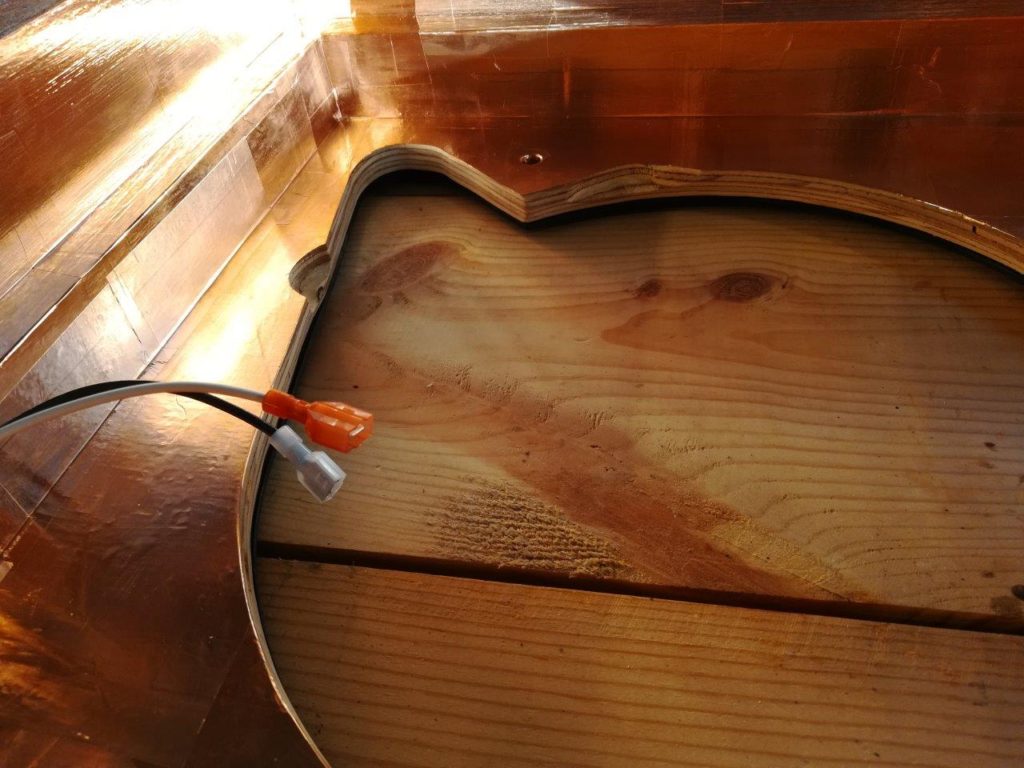
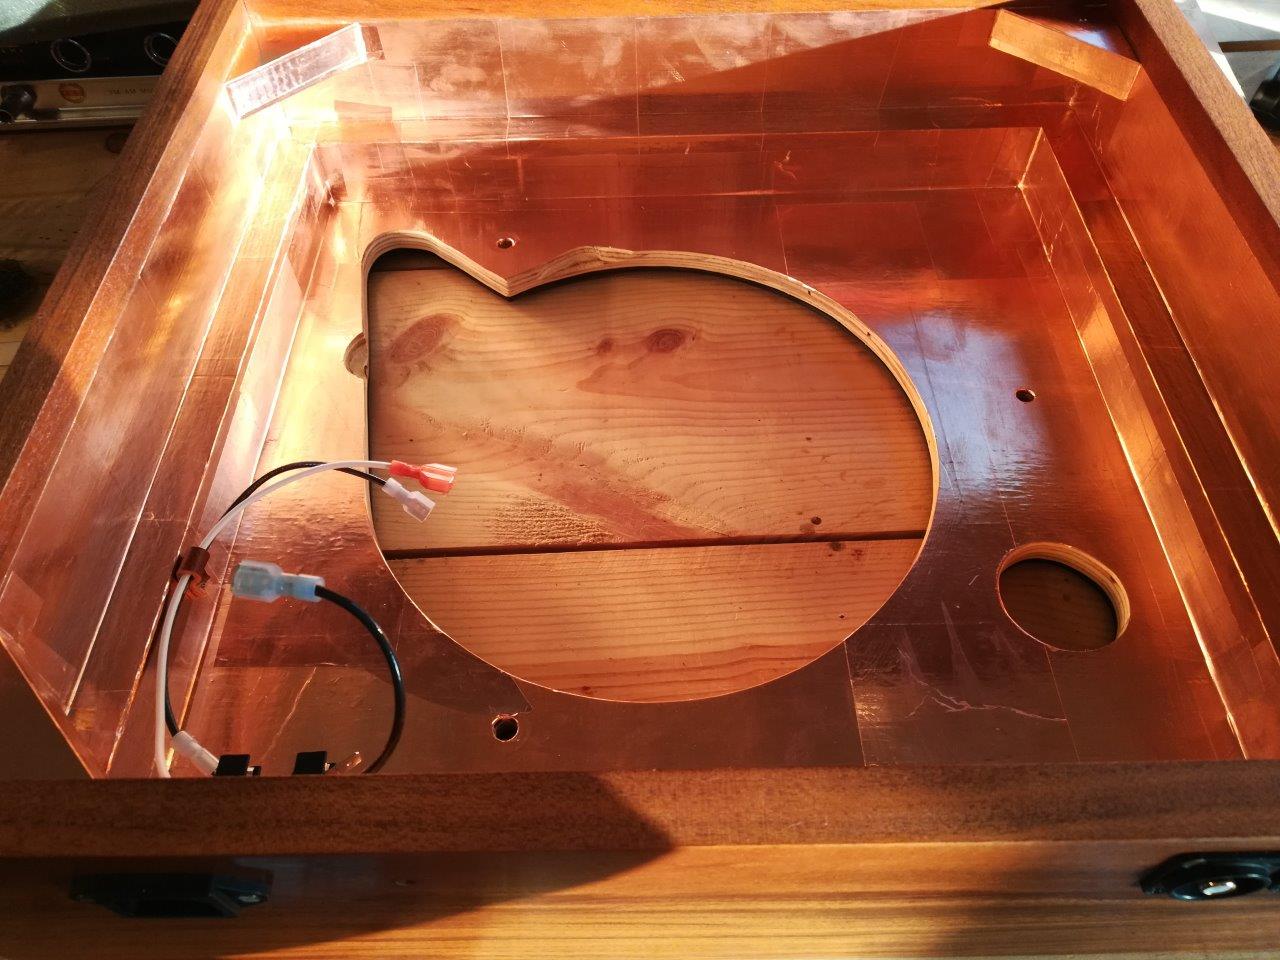
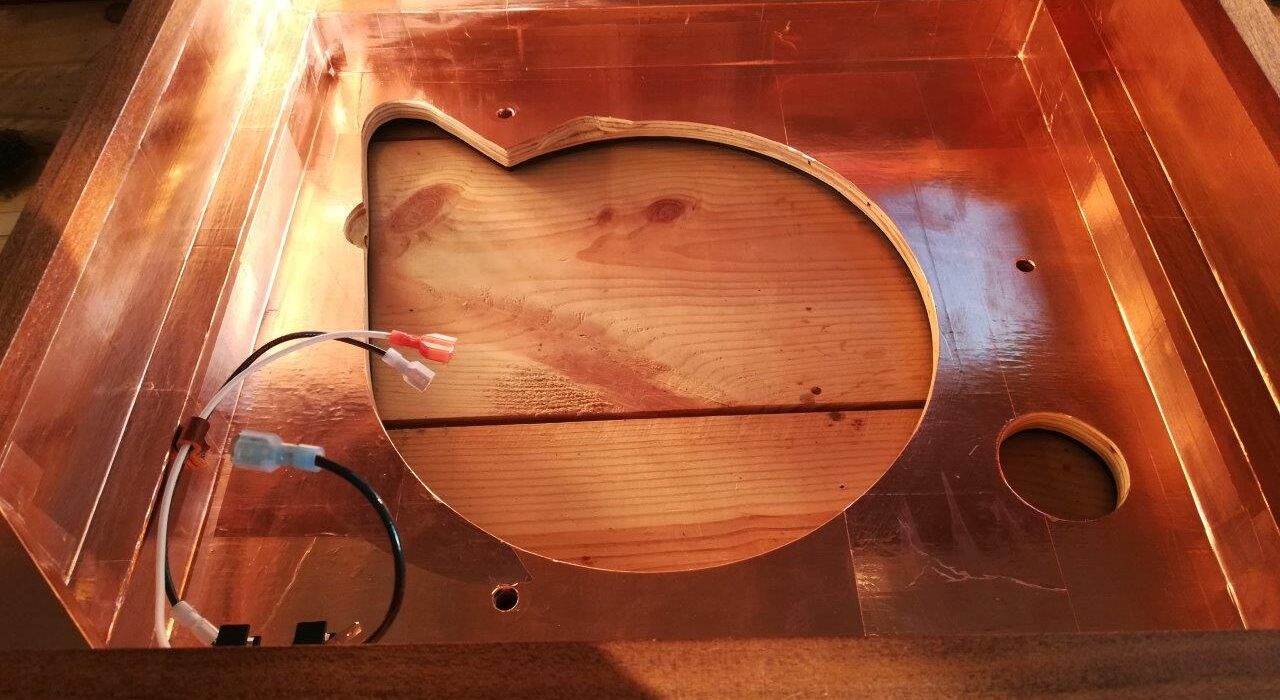
It took some patience, but I lined the entire plinth, including the bottom, with copper foil tape. The turntable deck screws ensure conductivity between that and the plinth, and the bottom closes the circuit, effectively creating an enclosed metallic box for the unshielded tonearm wires.
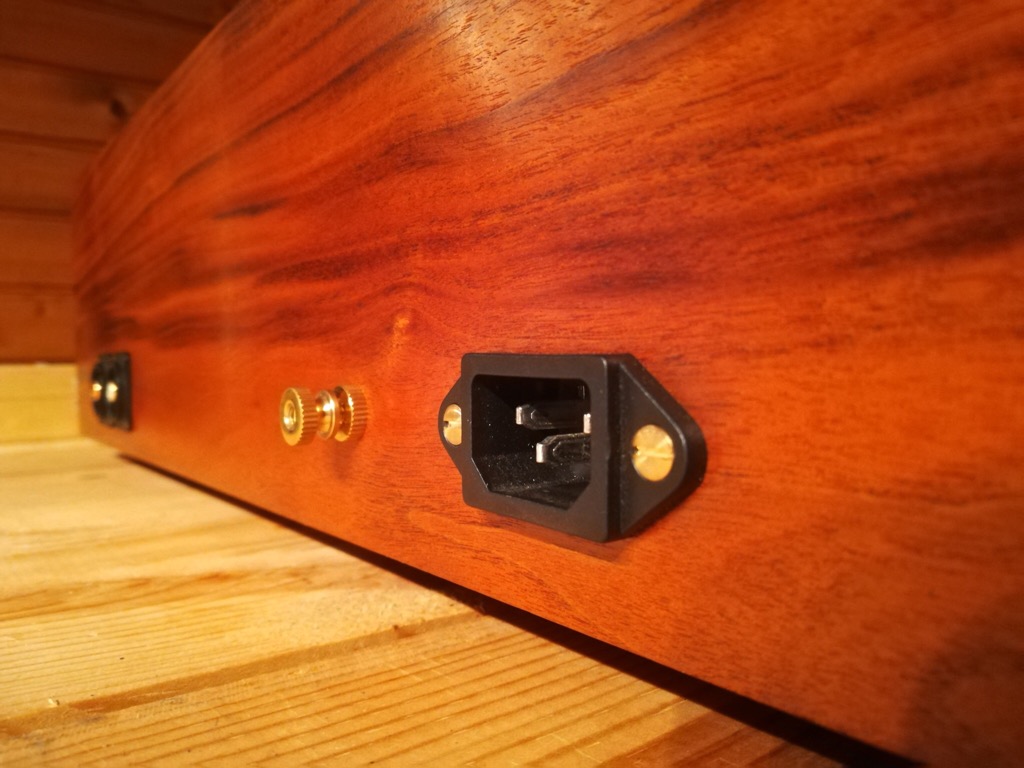
A brass screw passed through the plinth provides for grounding to the pre-amp in the same way that a screw on a solid metal chassis would, with a machined brass thumb screw to fasten the ground wire.
I am extremely pleased with the results, both how professional it turned out, and how effectively it kills all hum.
To recap: ignore the house ground, enclose your tonearm wires in a shield of some sort, and connect that shield to your pre-amp or amplifier ground.
I mentioned in a previous post that I wish I had left the original tonearm wires in place. They had a copper-braid shield which carried the negative signal from the pickup, both channels tied together. While that is not ideal for channel separation (I have read – I have no proof of this) it would have worked, or I could have added a single wire to separate one channel’s negative and had a very easy, elegant solution to the shielding. Another method I might have tried if I had known from the beginning that EMI/RF interference would be a problem is to use the conductive paint and line the inside of the plastic tonearm, but the plinth would still require some shielding for maximum quelling of hum.
Tags: Shielding, Turntable